How to Track Shopify Stack Changes in HubSpot
Send app, theme, and revenue-band changes into HubSpot, map them to company properties, and trigger scores, tasks, and alerts.

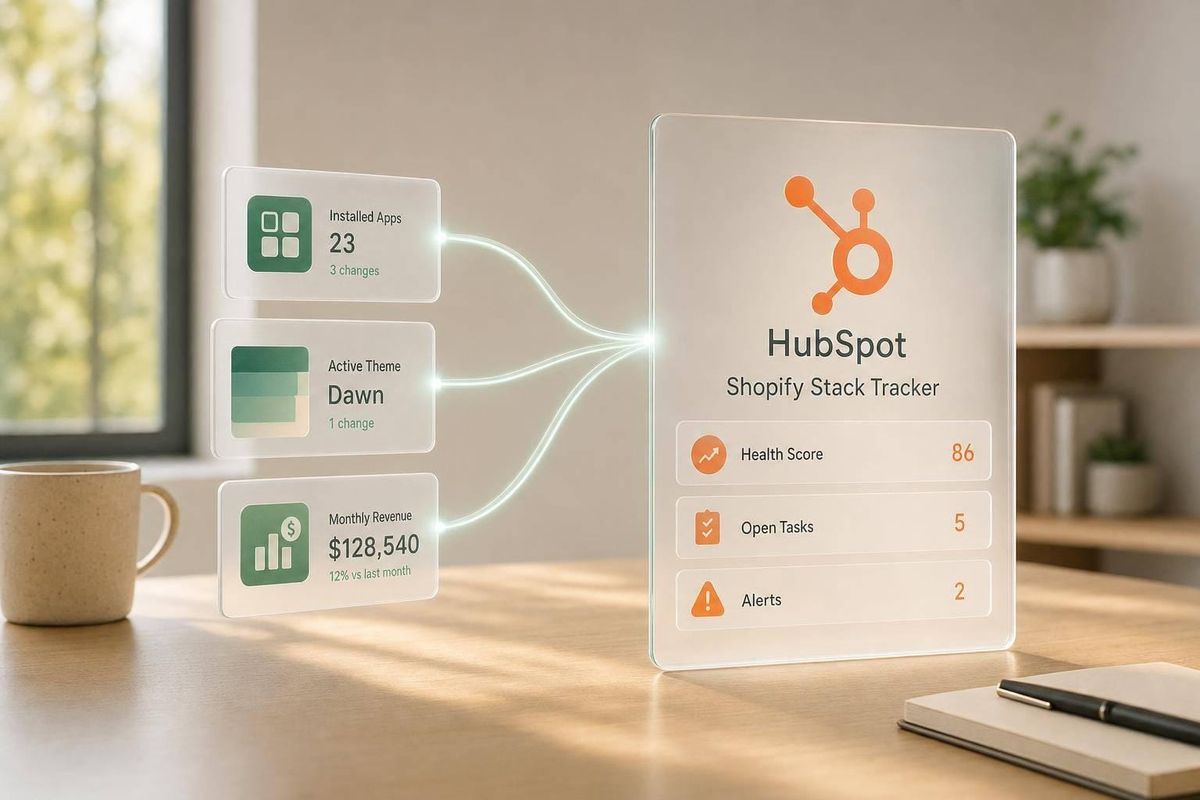
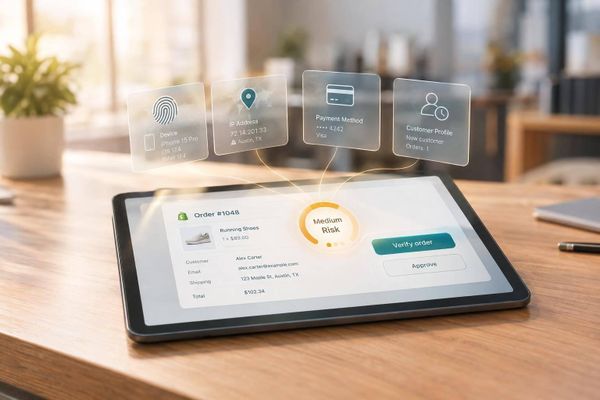
If your HubSpot data only shows what a Shopify store used to look like, your sales timing is off. I’d set up one live flow: send app installs, app removals, theme changes, and revenue band shifts into HubSpot, map them to company properties, and use them to trigger scores, tasks, lists, and alerts.
Here’s the short version:
- I’d use store domain as the main match key so each change lands on the right company.
- I’d send change events from StoreCensus, which tracks 5.0M+ stores and 25+ data points.
- I’d keep the setup simple with four event types: app installed, app uninstalled, app replaced, and theme changed.
- I’d store the current stack in company properties and the change history in custom events or timeline activity.
- I’d score accounts based on recency, change type, revenue band, and fit.
- I’d trigger rep tasks and Slack or email alerts only for changes that matter, like an ESP switch, reviews app removal, or multiple changes in 30 days.
- I’d build Shopify brand prospect lists such as:
- stores with an email app change in the last 7 days
- U.S. stores with 2+ changes in 30 days
- brands above $1,000,000 in annual revenue after a theme change
The main idea is simple: use change data, not static store data. That gives your team a live queue inside HubSpot instead of making reps check stores by hand.
A few details matter most:
- Keep category names fixed, like email, reviews, loyalty, checkout, and theme
- Store timestamps in UTC
- Use Grouped Mode so one store doesn’t flood HubSpot with repeat events
- Start with a small set of fields, such as Last stack change date, Last change type, Current email app, and Recent change count (last 30 days)
If I were building this today, on 09/02/2026, I’d focus on one goal: make every stack change turn into a clear next step for the rep.
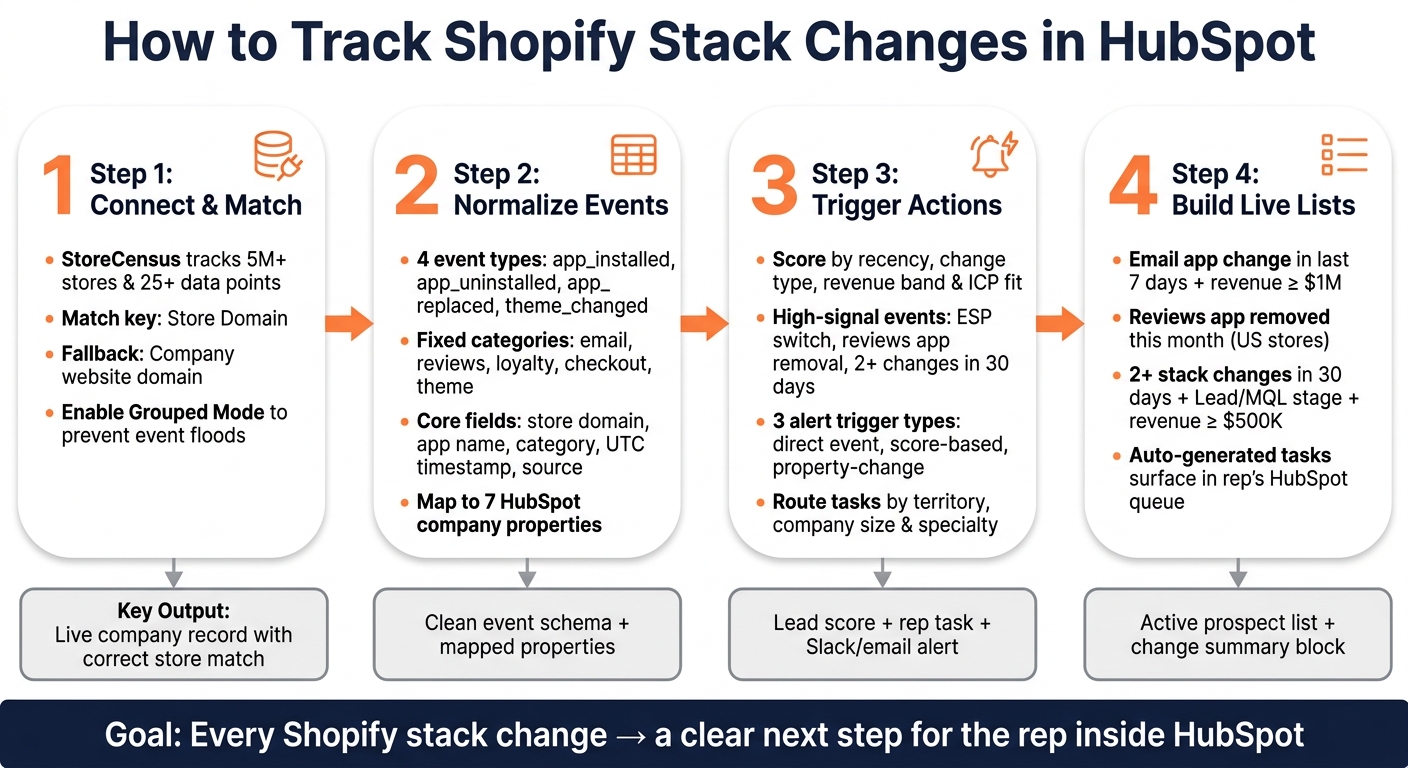
How to Track Shopify Stack Changes in HubSpot: 4-Step Workflow
Step 1: Set Up the Data Flow into HubSpot
Before any workflow goes live, you need to lock down two things: how records match and where the data lives. Once the company record is set, the next job is simple in theory but easy to mess up in practice: make sure every store change lands on the right record.
Connect HubSpot to Shopify and Set Up Record Matching
Connect your Shopify store through the HubSpot Marketplace by entering the store's Shopify URL during installation. Then select only the objects you need [5].
For matching, use the store domain as the main key. HubSpot's default company matching can use the company domain name, which makes this the cleanest option. If the store domain isn't there, use the company website domain. If that's missing too, fall back to a standardized Shopify URL as a last resort [6][9].
This part matters more than it may seem. If changes attach to the wrong account, the workflow breaks where it counts. Reps lose account context and end up checking stores by hand. Good matching rules fix that and turn HubSpot into a live feed of store changes instead of a one-time snapshot.
Use StoreCensus as the Stack-Change Signal Source
StoreCensus tracks 5.0M+ Shopify and WooCommerce stores across 25+ data points, including installed apps, theme, estimated monthly revenue, and geography. That means it can flag the kinds of changes that affect sales timing [2][11].
When a merchant switches an email platform or installs a new reviews app, that change becomes a signal you can use in HubSpot.
The setup is pretty direct. StoreCensus detects the change and sends it into HubSpot through webhooks or Zapier. Before you turn anything on, check that fields like app_spend_change or theme_change map to the correct HubSpot properties [1].
StoreCensus also includes decision-maker contacts with store data. So when a change event reaches HubSpot, a rep can see what changed and who likely made the call on that tool. That makes same-day follow-up a lot easier [1].
Enable Grouped Mode to limit repeat events from the same store [1]. Without it, HubSpot can get flooded with repeat events for one store, especially when change tracking first goes live.
After that, decide which fields should stay current on the company record and which ones should live in event history.
Choose the Right HubSpot Data Model Before Building Workflows
The company record is the main screen reps will check first. It's the selling unit, and it's where the change signal needs to show up fast.
A small but useful property set looks like this:
| Property | What It Stores | Used For |
|---|---|---|
| Email marketing app | Current app in that category, like Klaviyo | Workflow filters, list building |
| Reviews app | Current app in that category, like Yotpo | Segmentation, scoring |
| Last stack change date | Date of the most recent detected change | Workflow triggers, rep prioritization |
| Last change type | App install, removal, or theme change | Task routing, alert logic |
| Change signal source | StoreCensus | Reporting, data hygiene |
Use custom events or timeline activity when you need a timestamped record of what changed and when. Use company properties when you mostly need the current state for workflow filters and list building [7][8][10].
A good rule here: start with properties first. Then add event history once the workflow has shown it's worth the extra setup.
Once the right record gets updated, the next move is to normalize each change into a simple event schema. That sets up scoring, routing, and alerts in the next step.
sbb-itb-61169e3
Step 2: Structure Stack Changes So HubSpot Can Act on Them
Once store changes hit the right HubSpot record, the next job is to normalize them into one fixed schema. That gives HubSpot something clean to work with, so it can trigger actions right away instead of waiting for a rep to check the store first.
Create a Simple Event Schema for Installs, Removals, and Theme Changes
Use four event types: app_installed, app_uninstalled, app_replaced, and theme_changed. StoreCensus exposes discrete change event types such as App Installed, App Uninstalled, and Theme Changed, which makes the translation into HubSpot straightforward [3].
At a minimum, every event should carry the same core fields:
- store domain
- app name or theme name
- app category
- event timestamp
- source
For app_replaced, add previous_app_name. Store timestamps in UTC and format them in HubSpot as MM/DD/YYYY, hh:mm AM/PM [12].
Two rules make these workflows much less likely to fail. First, don't put dynamic values inside event names. The category or app name should live in a property field, not in the event type. Second, stick to a fixed category list: email, reviews, loyalty, checkout, theme. It only takes one mismatch, like Email Marketing instead of email, to throw off filters.
Map Change Events to HubSpot Properties Your Team Will Use
Map each field to a HubSpot company property. These are the fields sales and RevOps will actually use for filtering, scoring, and routing.
| Incoming Field | HubSpot Property | Property Type | Primary Team |
|---|---|---|---|
app_name when category = email |
Current email app | Dropdown | Sales, Marketing |
app_name when category = reviews |
Current reviews app | Dropdown | Sales, CS |
event_timestamp (most recent) |
Last stack change date | Date/datetime | Lead scoring, Routing |
event_type + app_category |
Last stack change category | Dropdown | Sales, RevOps |
| Derived from app count/categories | Stack complexity score | Number | Account strategy |
| Count of events in past 30 days | Recent change count (last 30 days) | Number | Lead scoring |
source |
Change signal source | Single-line text | RevOps |
Two fields do a lot of work here: Stack complexity score and Recent change count (last 30 days). A store with six stack changes in the past 30 days is acting very differently from one that hasn't changed in six months. That gap should show up in scoring before a rep ever opens the record.
Use dropdowns for categories and datetime fields for timestamps. HubSpot filters tend to work best when the field type matches the data.
These mapped properties are what HubSpot will use for scoring, tasks, and alerts. With the schema in place, HubSpot can score activity, route tasks, and trigger alerts.
Step 3: Turn Stack Changes into Lead Scores, Tasks, and Alerts
Once your events and properties are clean, HubSpot can do the heavy lifting. The goal is simple: turn each stack change into three clear actions - a score, a task, and an alert.
Build Lead Scoring Rules Around Meaningful Stack Activity
Score the change itself and the account behind it. Put more weight on events that are recent and tied to buying intent, then layer in factors like revenue, country, and market fit.
Give the highest points to recent, high-signal changes, such as ESP installs, review app removals, page builder switches, or several changes happening close together. Routine utility app updates are still worth tracking, but they shouldn’t kick off outreach on their own.
That firmographic layer keeps the model pointed at the right accounts. A Shopify store in the United States that sits above your target revenue range and just changed its ESP should score higher than the same change at a smaller store in a non-target market. Use recency windows so older events fade over time instead of keeping an account hot forever.[4][14]
Create Task Workflows and Rep Routing Rules
Once scoring sets priority, workflow automation decides who moves next.
When an account crosses your score threshold, create a task that spells out the change, why it matters, and what to do next. For example:
"Review app removed and ESP changed; check for migration pain and send retention outreach."
That task should sit on the same company record that already holds the change event, so reps can act without digging through the store from scratch.[15][16][17][19][21]
Routing should follow territory and skill set. Set a Territory property, branch by geography and company size, and use Rotate record to owner so work is split evenly. You can also add a service branch for email, design, paid media, or retention, which helps get the task to the right specialist fast.[20]
Send Alerts Without Creating Noise
Alerts should create awareness right away, not fire every time a workflow runs.
Send them only when a score passes a cutoff, a target account changes a key app category, or several relevant changes hit at once.[18]
Each alert should tell the rep what changed, why it matters, and what to do next. Send it through HubSpot email or Slack with enough detail to make the next move right away.[18]
| Trigger Type | Speed | Control | Maintenance | Best For |
|---|---|---|---|---|
| Direct event trigger | Fastest | Low | Low | Single high-confidence events, like a major app removal |
| Score-based trigger | Moderate | High | Medium | Multiple signals combining before rep notification |
| Property-change trigger | Moderate | Medium | Lowest | Stable summary fields like "High-Intent Account = true" |
Step 4: Build Live Lists and a Rep Workflow That Cuts Manual Research
Build Active HubSpot Lists from Stack-Change Conditions
Once scoring and alerts are live, active lists turn those signals into a queue reps can use right away. Static lists lock in a moment in time. Active lists update on their own as records match or stop matching your rules, which makes them a better fit for stack-change prospecting.[22][23][24][25]
Start small and build lists around one signal at a time:
- "Email app last change date is within the last 7 days" + "Annual revenue is greater than or equal to $1,000,000"
- "Reviews app status equals Removed" + "Reviews app last change date is this month" + "Country equals United States"
- "Stack changes in last 30 days is greater than or equal to 2" + "Company lifecycle stage is Lead or MQL" + "Annual revenue is greater than or equal to $500,000"
These lists are most useful as live prospect queues. Add ICP filters like revenue band, country, and vertical so reps spend time on accounts that actually fit. For example, a U.S.-based agency focused on fashion and beauty could combine "Country equals United States", "Vertical equals Apparel or Cosmetics", and "Last theme change date is less than or equal to 14 days ago." That gives the team a tighter list of mid-market U.S. fashion brands that are actively putting money into UX.
Use StoreCensus as the live change feed behind these lists.
Give Reps a Clear Next Action Inside the Company Record
That same change data should also tell reps what changed and what to do next. When someone opens a company record, they should be able to see what changed, when it changed, and why it matters in one place. They shouldn't have to jump into Shopify just to figure out what's going on.
Create a "Change summary" block using the main change properties mapped in Step 2. The timeline should show the change date, previous app, and current app.
Auto-generated tasks should already be sitting in the rep's queue. For example:
Follow up on reviews app removal - offer replacement and migration help.
When the summary, timeline, and task are all there, reps can write a personalized first email without leaving HubSpot.[13]
The outreach should match the change. If a store removed a reviews app, the message should focus on lost social proof and conversion impact. If a store switched email platforms, the angle should be migration best practices. Keep the app name, date, and business impact front and center so reps can personalize fast.[13]
Conclusion: A Simple Shopify-to-HubSpot Change-Tracking Workflow
When you connect the signal, scoring, and list layers, HubSpot becomes the rep's day-to-day queue. Capture live stack-change signals through StoreCensus, map them into HubSpot properties and timeline events, trigger lead scores and tasks based on signal weight, and route alerts with care so reps only see what deserves action.
FAQs
How often should HubSpot sync stack changes?
Sync stack changes in real time so outreach stays timely and relevant. When a store adds a new app, removes one, or updates its platform, trigger workflows as soon as the change shows up.
On top of that, run a weekly refresh of prospect data and lead scores. Then do a monthly database audit to remove stores that are inactive or have pivoted.
Which HubSpot properties should I create first?
Start with a custom contact property for the Shopify customer ID. That gives you a steady way to handle upserts and helps prevent duplicate records.
Then add properties for total spent, order count, average order value, Shopify customer tags, and standard fields like email, phone, and website. Together, these fields give you the base you need for segmentation, scoring, and workflow automation tied to store activity signals.
How do I keep alerts useful instead of noisy?
Focus on strict qualification, not broad tracking. Start by defining your ideal customer profile. Then use those filters on your monitoring lists so you watch the stores that actually fit.
Next, send alerts based on urgency:
- Critical issues go to SMS or phone
- High-signal changes go to Slack
- Lower-priority updates go to email digests
Check the system every month. Remove inactive stores, adjust thresholds based on action rates, and set frequency limits so the same store doesn’t trigger the same notification again and again.