Shopify POS to Meta: Offline Conversion Setup
Send hashed Shopify POS purchases to Meta as Purchase events via CSV or Conversions API; monitor EMQ, timing, and reconcile revenue.

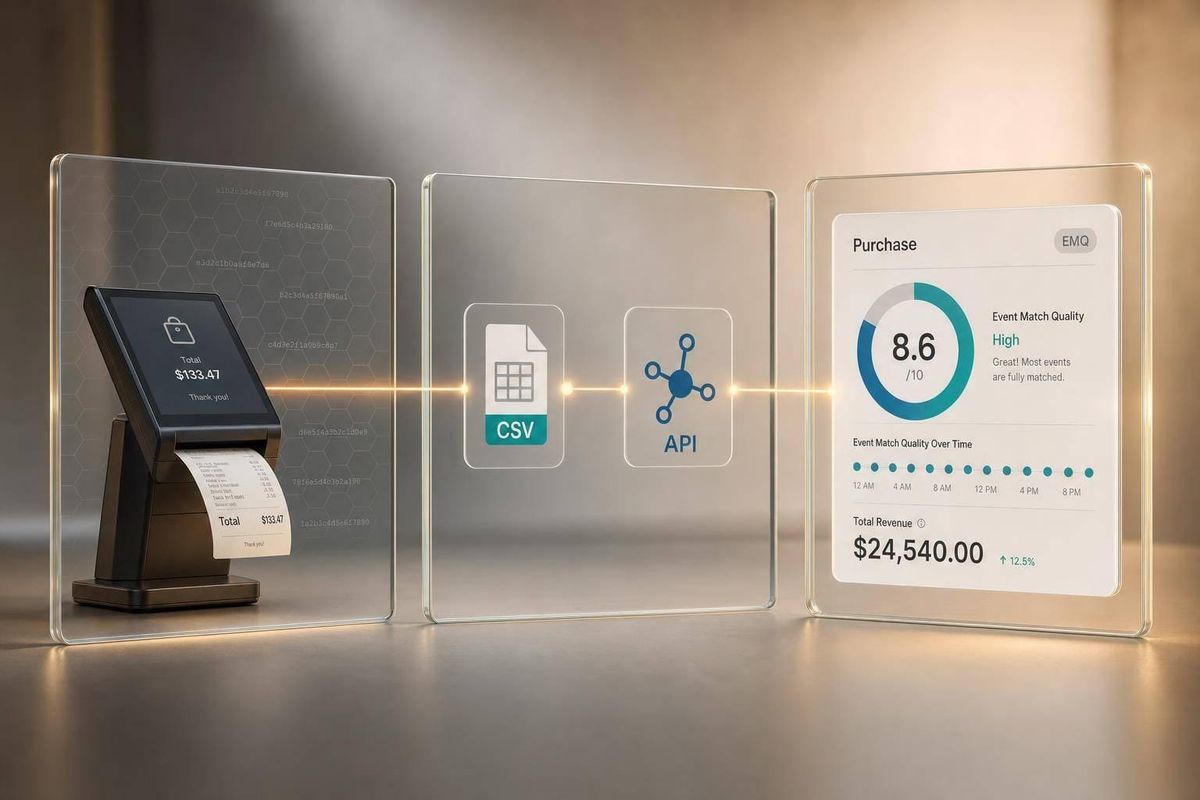
If you run Meta ads and sell in-store with Shopify POS, your ad reporting is incomplete unless you send POS sales to Meta. I’d set this up any time a store collects email or phone at checkout, because that’s what Meta uses to match an in-store purchase to an ad view or click.
Here’s the short version:
- I send in-store Shopify POS purchases to a Meta Offline Event Set
- I format each sale as a
Purchaseevent - I include:
- order ID
- timestamp
- sale value
- currency
- hashed email
- hashed phone
- I use SHA-256 for hashing customer identifiers
- I upload data either by:
- manual CSV, or
- automatic Conversions API (CAPI) sync
- I wait up to 72 hours to judge match quality
- I check EMQ, upload timing, transaction count, and revenue against Shopify POS
In plain English: if a shopper sees a Facebook or Instagram ad and then buys in-store later, Meta can only credit that sale if I send the register data back to Meta in the right format.
A few points matter most:
- No email or phone at checkout = weak matching
- Late uploads = missed or uneven attribution
- Duplicate transaction IDs = inflated conversion counts
- Wrong time zone = bad reconciliation
- CAPI usually beats manual uploads for multi-store setups
How to setup meta ads conversion tracking for shopify
sbb-itb-61169e3
Quick comparison
| Method | Setup time | Delay | Manual work | Best for |
|---|---|---|---|---|
| CSV upload | Low | Higher | Higher | One store, low sales volume, spot checks |
| CAPI sync | More setup | Lower | Lower | Agencies, multi-location stores, frequent reporting |
I’d sum it up like this: the setup itself is not the hard part. The hard part is sending clean customer data, sending it on time, and checking Meta against POS sales every week so underreporting doesn’t slip by.
What you need before you configure anything
Before you touch any Meta or Shopify settings, make sure the basics are in place. That means the right accounts, the right permissions, and the right data fields. After that, you can map those fields to Meta's offline event requirements.
Meta access, Shopify POS setup, and permissions
On the Meta side, you need a Meta Business account with an active ad account. You also need permission to manage the correct Business Manager and access to Events Manager so you can create or manage a Meta Pixel and an Offline Event Set.
On the Shopify side, you need admin access to your Shopify store, the Facebook & Instagram sales channel app installed, and that sales channel connected to the correct Meta Business account.
Your Shopify POS locations need to be set up in Shopify admin too. That matters because the location name or ID becomes part of the data you send to Meta.
Required Shopify POS fields for Meta
Shopify POS purchases made in-store only become attributable when the right customer identifiers and event fields are available. At a minimum, map the fields below.
| Required Field | Meta Requirement / Format | Shopify POS Source Field |
|---|---|---|
| Event Name | Purchase |
Derived from the sale event |
| Timestamp | ISO 8601 or Unix time, normalized to UTC | Transaction Date/Time |
| Order ID | Unique string | Order Number / Receipt ID |
| Value | Numeric (e.g., 1234.56) |
Total Price |
| Currency | ISO code (USD) |
Currency |
| SHA-256 hashed | Customer Email | |
| Phone | SHA-256 hashed, including country code | Customer Phone |
| Store Location | POS location name or ID | POS Location Name or ID |
Hash email and phone with SHA-256 before upload. Once your mapping is set, you can decide whether to upload CSV files by hand or automate the sync.
Manual CSV upload vs. automated sync
Manual CSV upload is the fast way to get started. Export the data from Shopify, format the file, and upload it to Events Manager. An automated sync through Conversions API (CAPI) takes more setup, but it cuts out repeated manual work.
| Feature | Manual CSV Upload | Automated API Sync (CAPI) |
|---|---|---|
| Setup Speed | Fast (immediate upload) | Slower (requires technical config) |
| Reporting Delay | High (depends on upload frequency) | Real-time / low delay |
| Failure Risk | High (human error in formatting) | Low (systematic, automated) |
| Ongoing Labor | High (manual exports and uploads) | Low (low-maintenance) |
| Best-Fit Use Case | Single store, low volume, single audits | Agencies, multi-location, high-volume retail |
For multi-location merchants and agencies, the automated route is often the better call. Once access and fields are confirmed, you can map Shopify POS sales into Meta's offline event format.
Step-by-step setup in Shopify POS and Meta
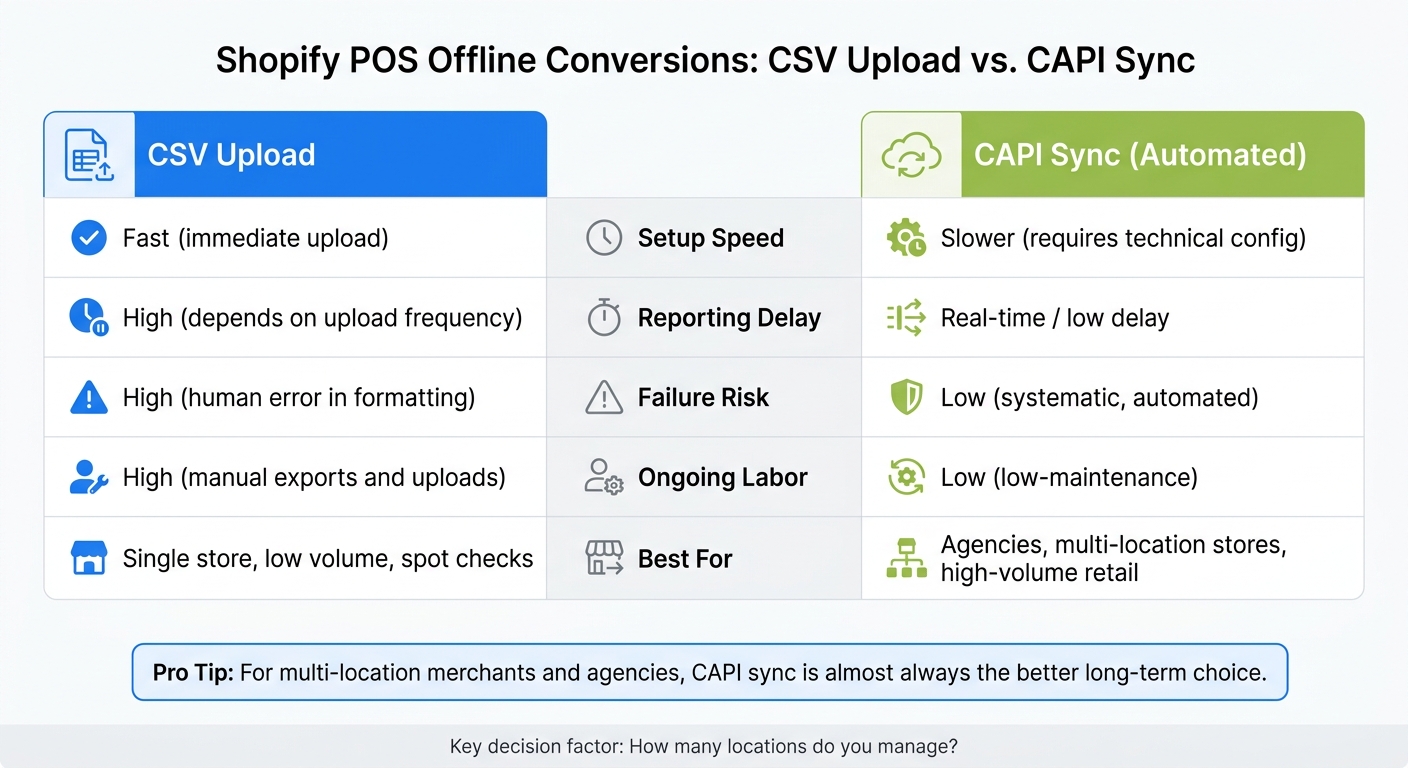
Shopify POS to Meta: CSV Upload vs. CAPI Sync Comparison
Once access and field mapping are set, the next move is simple: create the offline event set and send your first POS purchases to Meta.
Create the Offline Event Set in Meta
In Meta Events Manager, click Connect Data Sources > Offline and create an event set named Brand-POS-Sales-2026.
If you need store-level reconciliation, include the store location in the name. That makes reporting a lot easier later, especially when you’re sorting through sales from more than one location.
Assign the event set to the ad account that should report on these sales. Then, in Business Manager, give "Manage Offline Event Set" permissions to anyone who needs to upload data or check reporting.
Map Shopify POS purchase data to Meta offline event fields
Treat in-store transactions as Purchase events. Here’s how Shopify POS fields line up with Meta’s offline event fields.
| Shopify POS Field | Meta Offline Field | Transformation | Status |
|---|---|---|---|
total_price |
value |
Numeric decimal (e.g., 99.99) | Required |
currency |
currency |
3-letter ISO code (e.g., USD) | Required |
created_at |
event_time |
Unix timestamp or ISO 8601 | Required |
name (Order Number) |
order_id |
String | Recommended |
customer.email |
em |
SHA-256 hashed | Recommended |
customer.phone |
ph |
SHA-256 hashed | Recommended |
Keep store location in your export for internal reconciliation, but don’t use it as a required Meta matching field.
These fields are what help Meta connect a register sale to a Facebook or Instagram ad exposure. Email and phone are optional, but leaving them out will lower match rate. Hashed email and phone can improve match rate in a meaningful way. Give it 72 hours before you judge match quality.
Send events by CSV upload or API-based sync
Use the same field map whether you send data by CSV upload or API sync.
For CSV uploads, export your transactions using Shopify Store Guides, format the file to match the mapping above, and upload it into the Offline Event Set in Events Manager. After that, check the file import status in Events Manager.
For an automated setup, in Shopify, set Meta data sharing to Maximum to turn on Conversions API. For CAPI, use Test Events and Diagnostics to spot delivery issues before they turn into reporting gaps.
Once events start flowing, check timing and match quality before you compare Meta reporting with POS revenue.
Timing, match quality, and the gaps that break attribution
Event timing and attribution windows
Delayed uploads hurt match quality and make attribution less accurate, so it’s better to run a regular automated sync than rely on sporadic backfills [1]. That timing matters more than many teams expect. If your data lands late, Meta may miss the sale or credit it unevenly.
Use the same sync cadence each time before comparing Meta reporting with POS revenue. If one side updates on a different schedule, the numbers can look off even when the setup is fine.
Customer identifiers and hashing
Match quality depends on the identifiers you collect at the register. Email and phone are the key fields. Without them, Meta has far less data to use when tying an in-store sale back to an ad exposure.
At checkout, collect both email and phone, lowercase email addresses, hash both fields with SHA-256, and send them the same way every time [1]. Small formatting issues can chip away at match quality, so consistency is a big deal here.
Common setup gaps that cause underreporting
Most attribution problems come from a short list of repeat mistakes. In plain English, the issue usually isn’t mysterious. It’s a missing identifier, a duplicate event, a late upload, or a setup detail that slipped through the cracks.
| Setup Gap | Likely Symptom in Meta | Fix |
|---|---|---|
| Missing customer identifiers (email/phone) | Low Event Match Quality (EMQ) score | Collect email and phone; send hashed identifiers through Shopify's maximum data-sharing/CAPI flow [1] |
| Duplicate transaction IDs | Duplicate conversions; inflated ROAS | Check for both manual code and the partner integration; remove one [1] |
| Late uploads | Conversions missed or credited inconsistently | Use a regular automated sync instead of sporadic backfills [1] |
| Ad blockers / privacy restrictions | Missing browser-side events on iOS and Safari | Implement the Conversions API (CAPI) for server-side events [1] |
| Shopify "Optimized" setting | Missing events | Check Settings > Customer events and confirm the status reads "Connected" [1] |
After you fix those gaps, check event health and reconcile reported sales against register totals.
How to verify results and reconcile POS sales to Meta ads
Check event health in Events Manager
Once events are coming through, check delivery before you line it up with revenue. In Events Manager, make sure the Offline Event Set shows as Active and that new events appear within 5–10 minutes of each transaction. The Diagnostics tab is the first place to look for formatting errors, missing parameters, and deduplication warnings.
Use EMQ as a fast health check. Low scores often mean identifiers are missing or the formatting isn’t consistent.
Reconcile store revenue with Ads Manager reporting
After delivery checks look good, compare Meta reporting with Shopify POS. Pull Shopify POS sales for a set date range. A weekly check works well if you want a simple recurring process. Then compare Shopify’s transaction count with the Received Events count in Meta’s Offline Event Set, and compare total POS revenue with attributed offline revenue in Ads Manager for that same window. First, make sure both platforms use the same time zone.
At a minimum, check four things:
- Transaction count
- Total revenue
- EMQ
- Upload timing
If Meta’s received event count is lower than your POS order count, that usually points to upload gaps or missing identifiers. If revenue doesn’t line up, split the data by store location and see whether identifier coverage stays consistent from one store to the next.
Package this as an agency service and find the right merchants to pitch
For agencies, this same process can turn into a repeatable client service. Offline conversion setup is easiest to position as an attribution and reporting upgrade for omnichannel brands. You can use StoreCensus to filter U.S. Shopify merchants by revenue, tech stack, and Meta/POS signals, then put stores with a Meta Pixel but no CAPI at the top of the list.
What makes this service repeatable isn’t complicated: correct data mapping at the POS, fast and consistent event delivery, strong identifier capture at checkout - especially email and phone - and a weekly reconciliation check against Ads Manager.
FAQs
Do I need both email and phone at checkout?
Not strictly. But collecting both email and phone usually helps improve match rates.
With Enhanced Matching, Meta can use this hashed customer data to connect store sales to ad clicks, even when cookies are blocked or shoppers switch devices. For more accurate attribution, collecting both is the best practice.
How often should I sync Shopify POS sales to Meta?
For the most accurate conversion tracking, put real-time data flow first. A server-side setup like the Meta Conversions API is the best way to do that.
Scheduled syncs still have a place. They can help with broader reporting and give you a high-level view of performance. But they fall short when you need to tie a sale to a single order.
Here’s the key point: timing matters.
When purchase events are sent to Meta right away, Meta can process that data while the signal is still current. That helps improve match quality and cuts down attribution gaps that often show up when data is delayed or sent in batches.
If you rely only on scheduled syncs, it’s a bit like mailing yesterday’s receipts instead of sending today’s checkout data as it happens. You may still get the big picture, but the order-level view gets fuzzy fast.
Why doesn’t Meta revenue match my POS totals?
Meta revenue and Shopify POS sales often don’t line up because they’re tracking different things.
Shopify reports the sales that happened in your store. Meta reports attributed conversions based on its 7-day click and 1-day view windows. That can include modeled conversions and view-through conversions too.
There’s also channel overlap. A sale might show up in Meta, but email or search may have helped drive it as well. On top of that, small tracking gaps can stack up fast, including:
- Timezone drift
- Missing server-side events
- Browser-based tracking limits
That’s why it’s common to see Meta and Shopify show different revenue totals, even when both platforms are working as expected.